Remove the Compression Gland Lid to access the Safety Valve.
Turn the Safety Valve cap counter-clockwise using a 5/8 Inch wrench.
Unscrew and remove the Safety Valve cap.
Use a cotton swab to clean inside the Safety Valve body. A common cleanser can help with this process.
Use compressed air to blow out any remaining dirt.
Lubricate the 006 O-Ring lightly with Petroleum Jelly.
Insert the Piston back into the Safety Valve body.
Place Safety Valve Cap over the Piston and thread on finger-tight.
Use the 5/8 Inch wrench to gently snug the Cap into place.
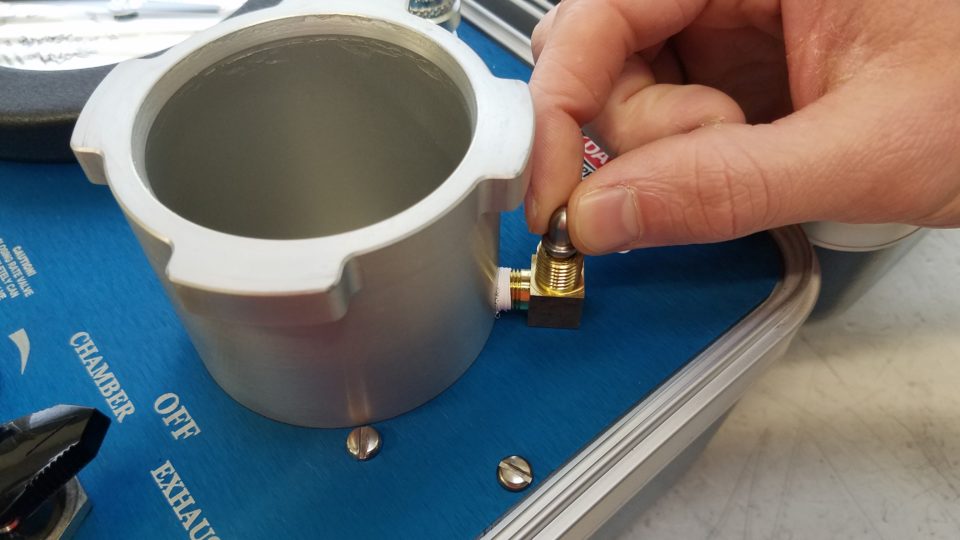
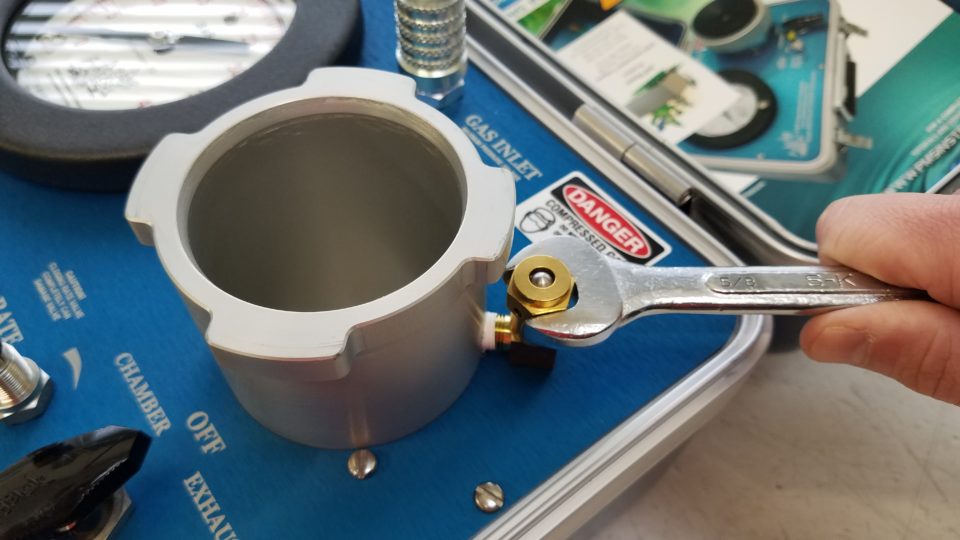
DO NOT OVER-TIGHTEN.
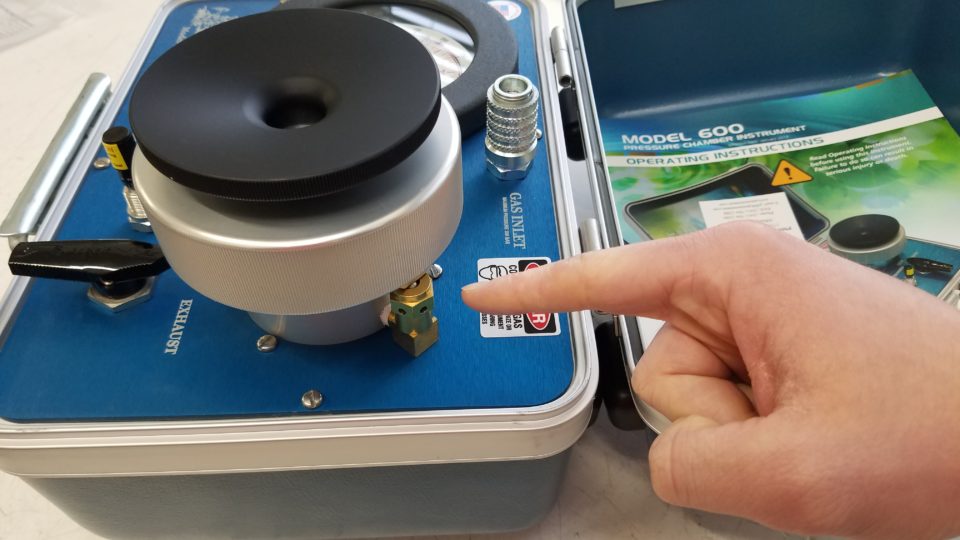
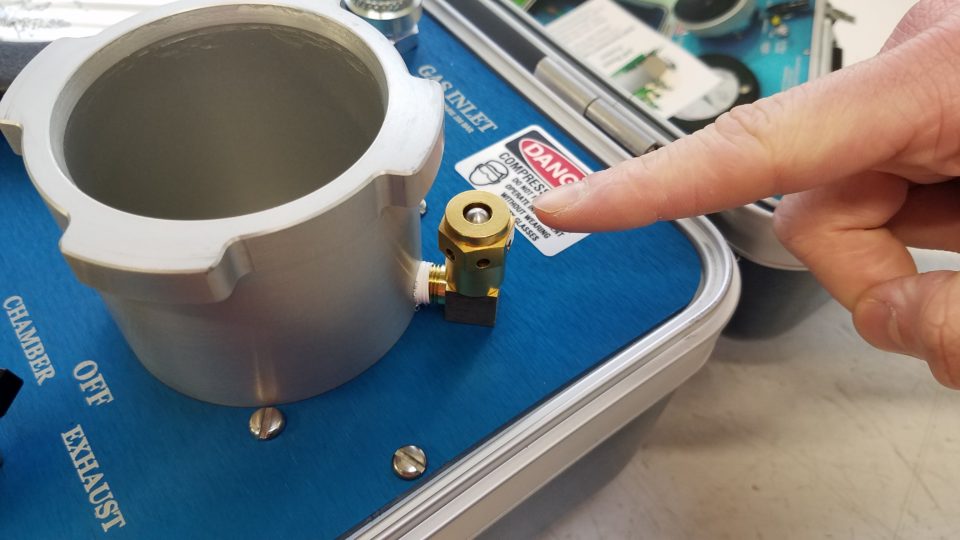
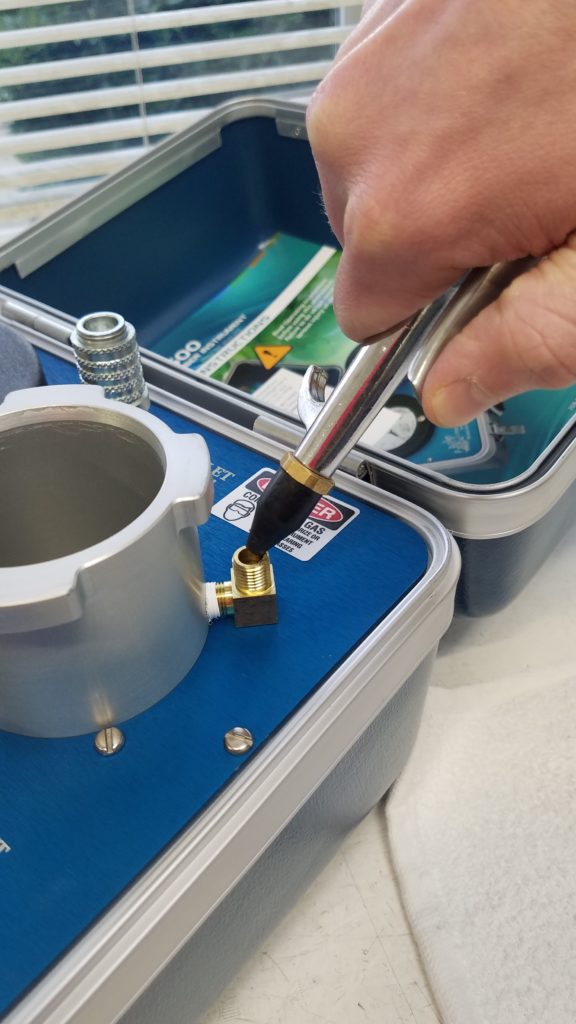
To ensure that the Safety Valve is working properly, pressurize the instrument and test the Safety Valve. You can see a tutorial on that process here.
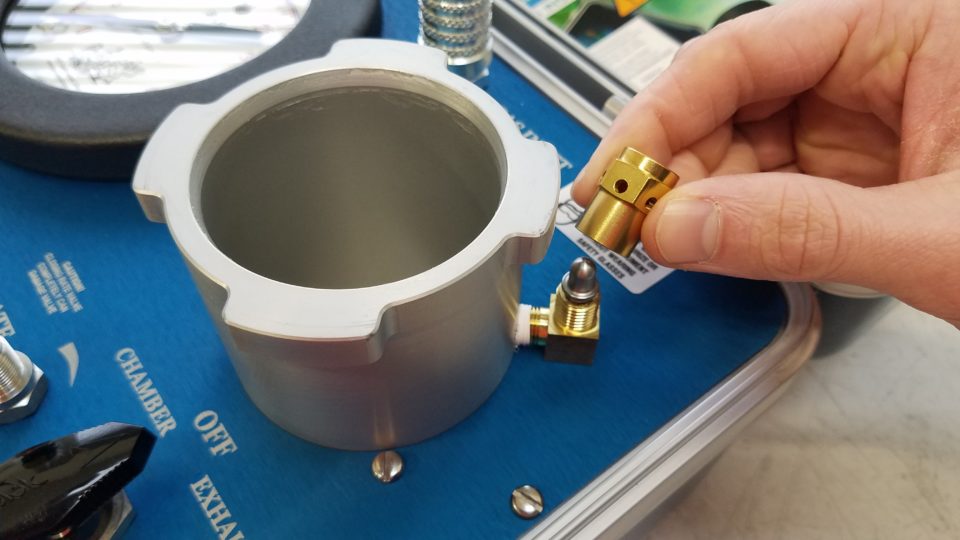
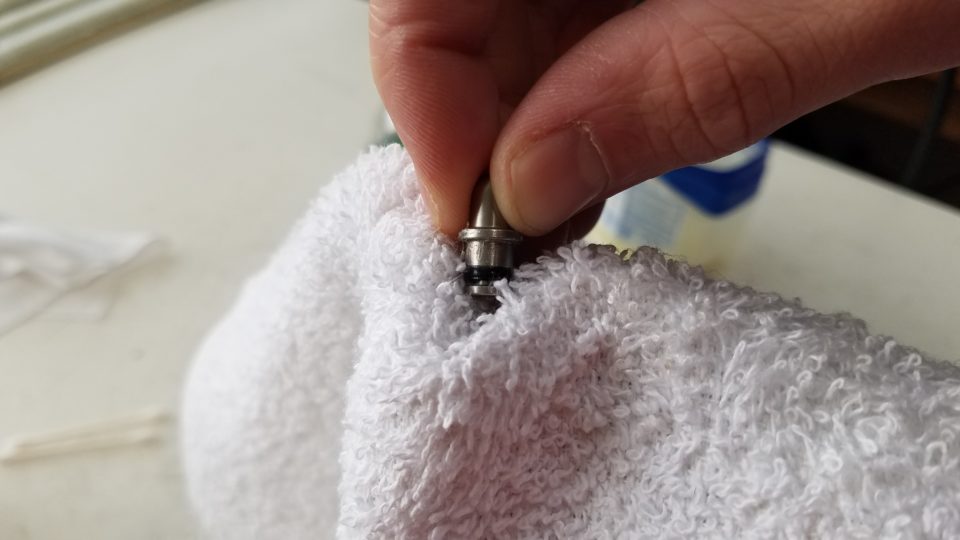
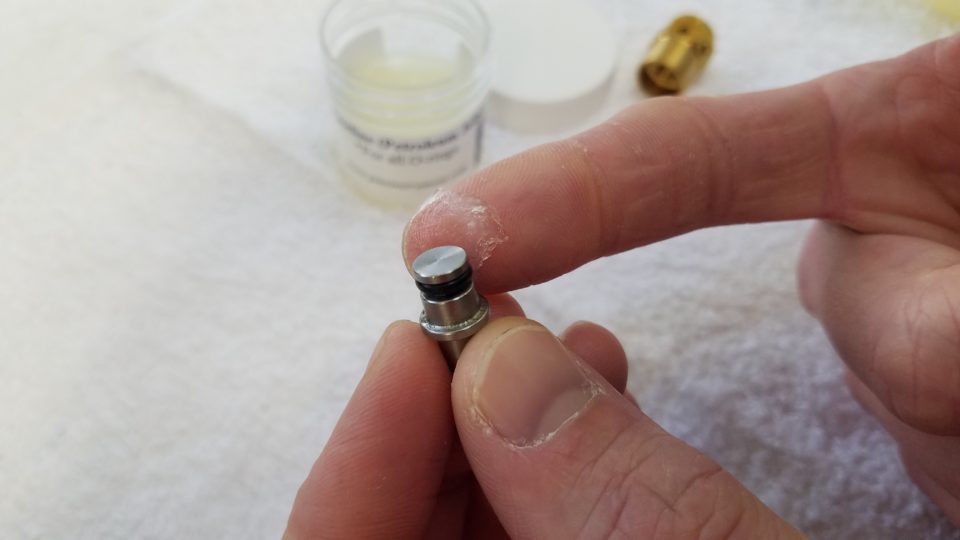
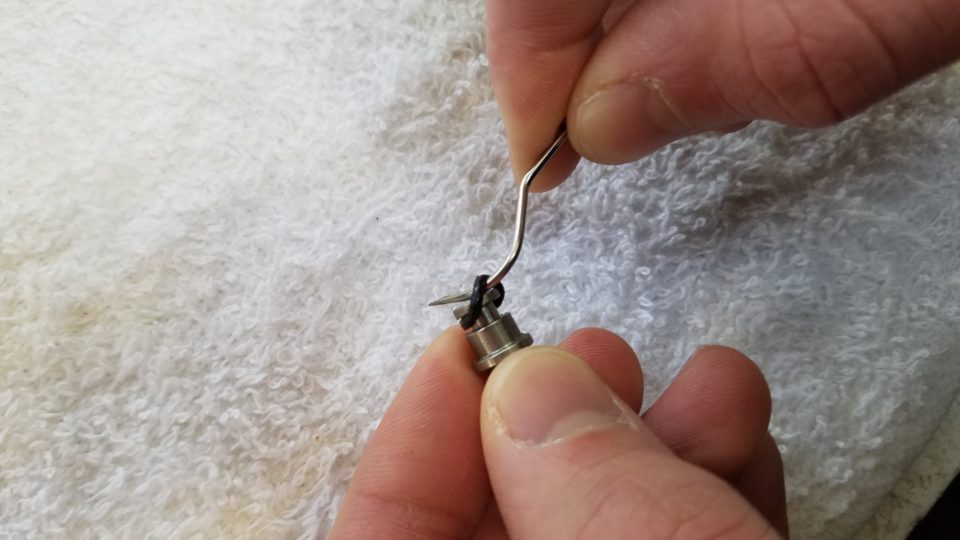
If the valve is leaking or not activating properly, you might need to change the Piston O-Ring.
Use a metal probe to remove the O-Ring. Replace with a Size – 006 O-Ring. This should be a Buna-70 hardness. Ensure there is not debris in the O-Ring track. Reinstall and test.
Our products are used in scientific research and agricultural applications for accurate measurement of plant water potential.