PMS Instrument Optional Information Banner

This space is used for important updates, announcements, and time-sensitive information.

Filling the Model 615, 615D or 1515D Internal Tank

The preferred gas for pressure chamber use is welding grade nitrogen (N2) which is an inert gas and does not react with the plant sample. This has been the standard since the early 1960s. If you do not already have nitrogen, a large “Supply Tank” can normally be bought or rented from a welding or gas supply store at minimal cost.
Filling the Internal Tank of the Model 615 is easy but care must be taken while trans-filling high pressure nitrogen. First, you need to have 4 items in order to make a successful fill of the Portable Tank.

  1. Model 615 Pressure Chamber Instrument
  2. Supply Tank (Large filling tank)
  3. 6 Foot Filling Hose
  4. Safety Glasses
model 615 pressure chamber instrument with supply tank
pressure chamber tank pressure gauge

Ensure there is no pressure in the tank hose or instrument. If there is pressure follow these subsequent steps to release the pressure.

closed pressure chamber internal tank valve

Make sure the Internal Tank valve is closed.

Turning the Pressure Chamber Control Valve

Remove the lid from the chamber to ensure no blockage. Turn the Control Valve to “Chamber” position. You will hear the gas releasing from the instrument.

Wait till you see no pressure on the tank pressure gauge on the instrument.

pulling back the pressure chamber's hose coupler

Pull the coupler of the hose back. It should release easily. If it does not, it is possible that there is still gas in the line. Check the gauge to ensure there is no gas remaining.

Screwing a 6-Foot Filling Hose into the Master Cylinder

Screw the 6-Foot Filling Hose into the Master Cylinder. Use only an approved connection for this. The 6-Foot Hose should be the one supplied with the instrument or certified to 3000 PSI/ 207 Bar of pressure.

Align the two fittings and push them together. You should hear them “snap” together.

Pull the fittings gently

Pull gently to ensure that the fittings have properly connected.

Master Cylinder valve should be closed already.

Ensure the Purge Valve on the 6-Foot Filling Hose is closed.

closed Internal Tank valve

Ensure the Internal Tank valve is closed.

Hold firmly to the hose while you open the valve SLOWLY on the Master Cylinder. Holding the hose ensure control of the hose in the event there was some failure of the hose or fitting.
Opening the Internal Tank Valve

The next step should be done carefully … Barely open the valve — Just a crack until you can hear the gas entering the Internal Tank. As the sound becomes less, open the valve a little bit more. Continue this process until the sound stops completely and the Internal Pressure of the tank has equalized with the Master Cylinder.

Closed Internal Tank valve

Close the valve on the Internal Tank.

Close the valve on the Master Cylinder.

Open the Purge Valve on the 6-Foot Filling Hose. Wait till all the pressure has released from the hose.

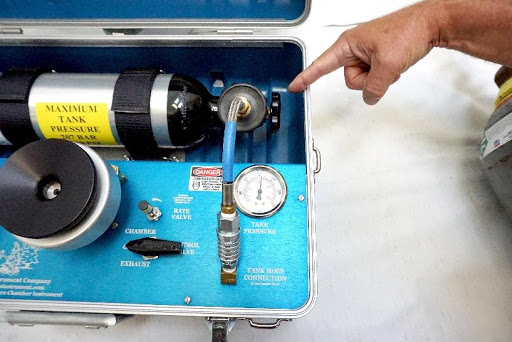
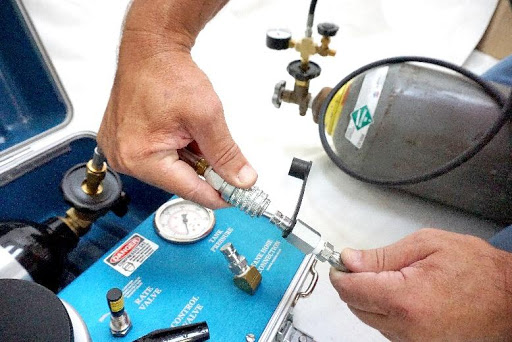
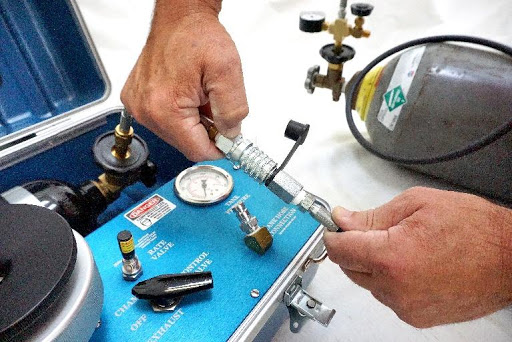
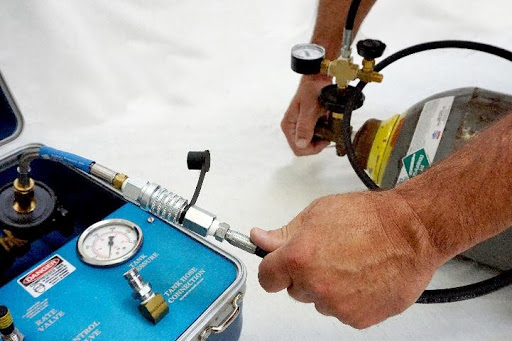
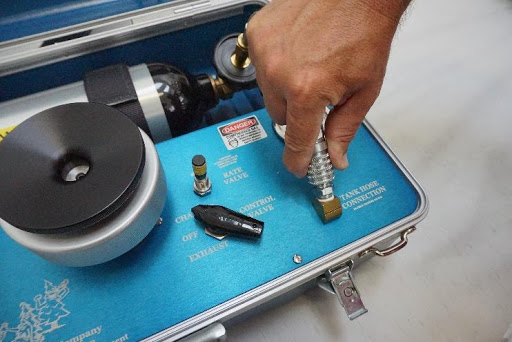
Pressure the two Safety Quick Connectors back together. They should “Snap” back together.

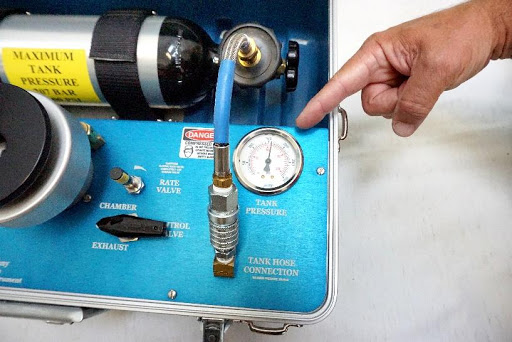
If you cannot get them to reconnect, it is possible that there is gas (pressure) trapped in the tank hose. Follow the steps below to attempt to release the pressure.

Twisting the plastic wheel nut on the fitting counter-clockwise

Ensure the Internal Tank Valve is closed.

Twist the plastic wheel nut on the fitting counter-clockwise to release it from the tank. This might be difficult to do if there is pressure in it.

Using a wrench to twist the plastic wheel nut on the fitting counter-clockwise

You might have to use a wrench to do this if it has a lot of pressure in it.

Once the pressure is released, you can reconnect the hose to both the tank and instrument side of the instrument.

We're the standard in plant water measurement.

Our products are used in scientific research and agricultural applications for accurate measurement of plant water potential.