PMS Instrument Optional Information Banner

This space is used for important updates, announcements, and time-sensitive information.

Installing the Grass Compression Gland

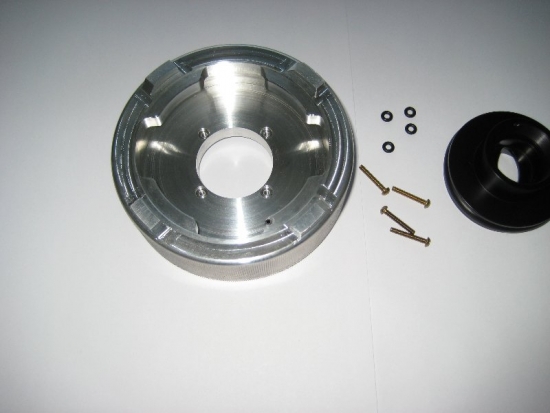
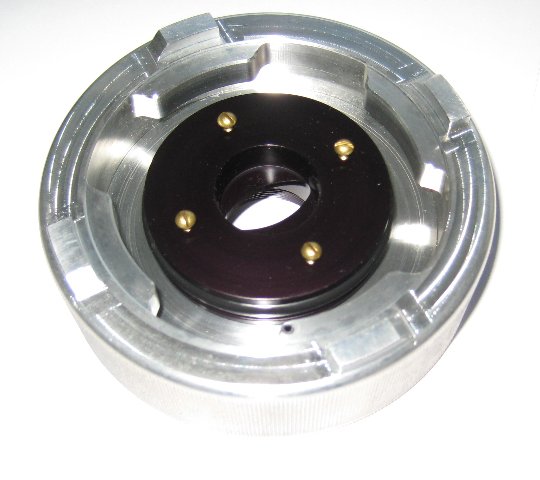
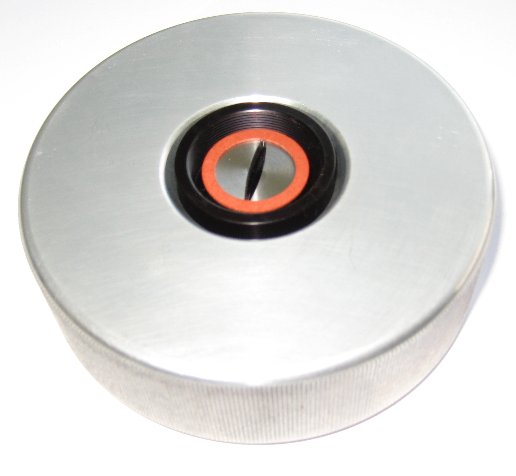
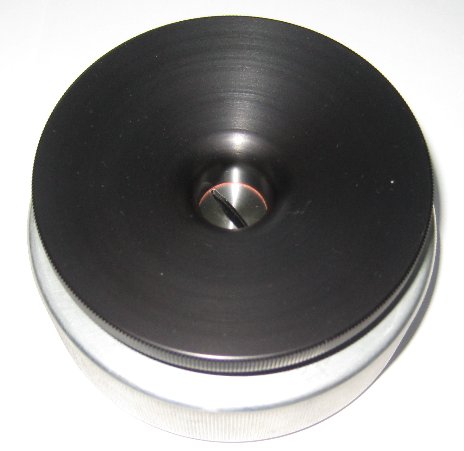
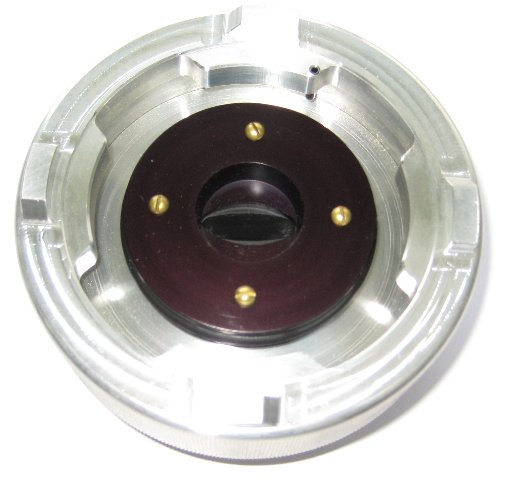
You will first need to remove the current Compression Gland System from the chamber lid. This can be done by simply unscrewing the Compression Gland Screw and then removing the 4 brass screws underneath the lid.
the parts needed to install a grass compression gland

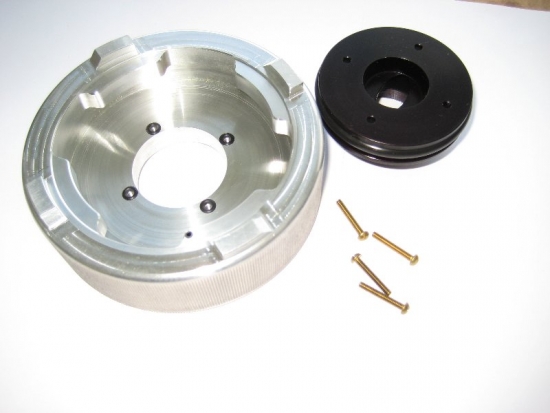
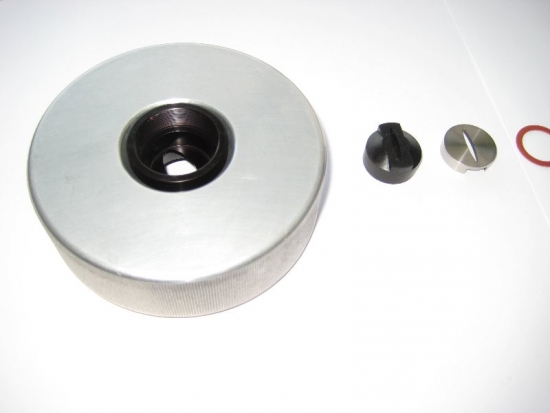
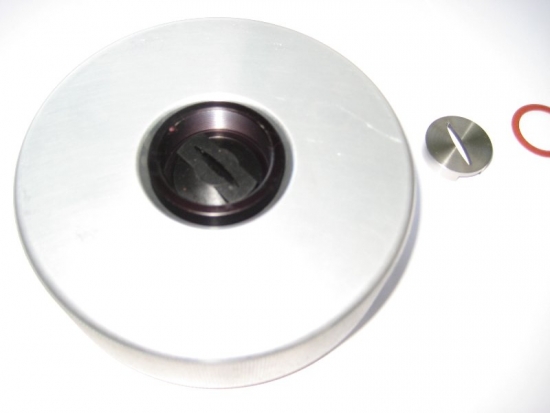
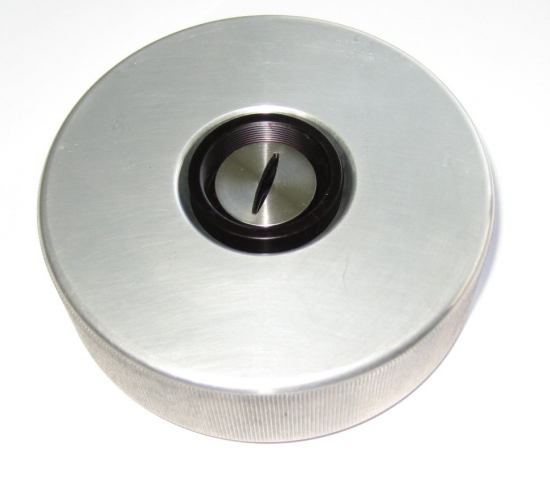
Assemble all the above parts.

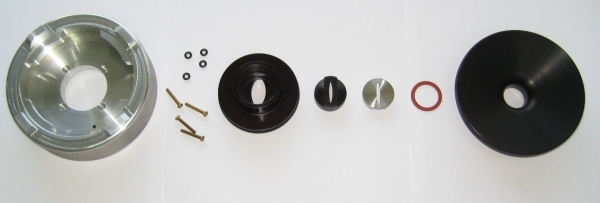
From left to right – (Chamber Lid, 4 brass screws, 4 O-rings (size 006), Grass Compression Gland, Grass Gasket, Grass Compression Gland Insert, Friction Washer and Compression Gland Screw.

ensure the lid is free of dirt and debris
Ensure the lid is free of dirt and debris.
lubricate o rings with petroleum jelly then install into screw holes

Lubricate O-Rings with petroleum jelly (lightly) then install into screw holes.

align grass compression gland into place with screw holes
Slide Grass Compression Gland into place – align with screw holes.
prepare the gasket
Turn lid over and prepare gasket – ensure it is clean.

Place gasket into gland. Align the slit in the gasket and gland.

Install Grass Compression Gland Insert – flat side up.

place friction washer

Place Friction Washer on top of Insert.

screw compression gland into the gland

Screw the Compression Gland Screw into the Gland.

The final product should look like the above.

We're the standard in plant water measurement.

Our products are used in scientific research and agricultural applications for accurate measurement of plant water potential.